10 Common Mistakes When Baking Whole-Grain Bread (and How to Avoid Them)
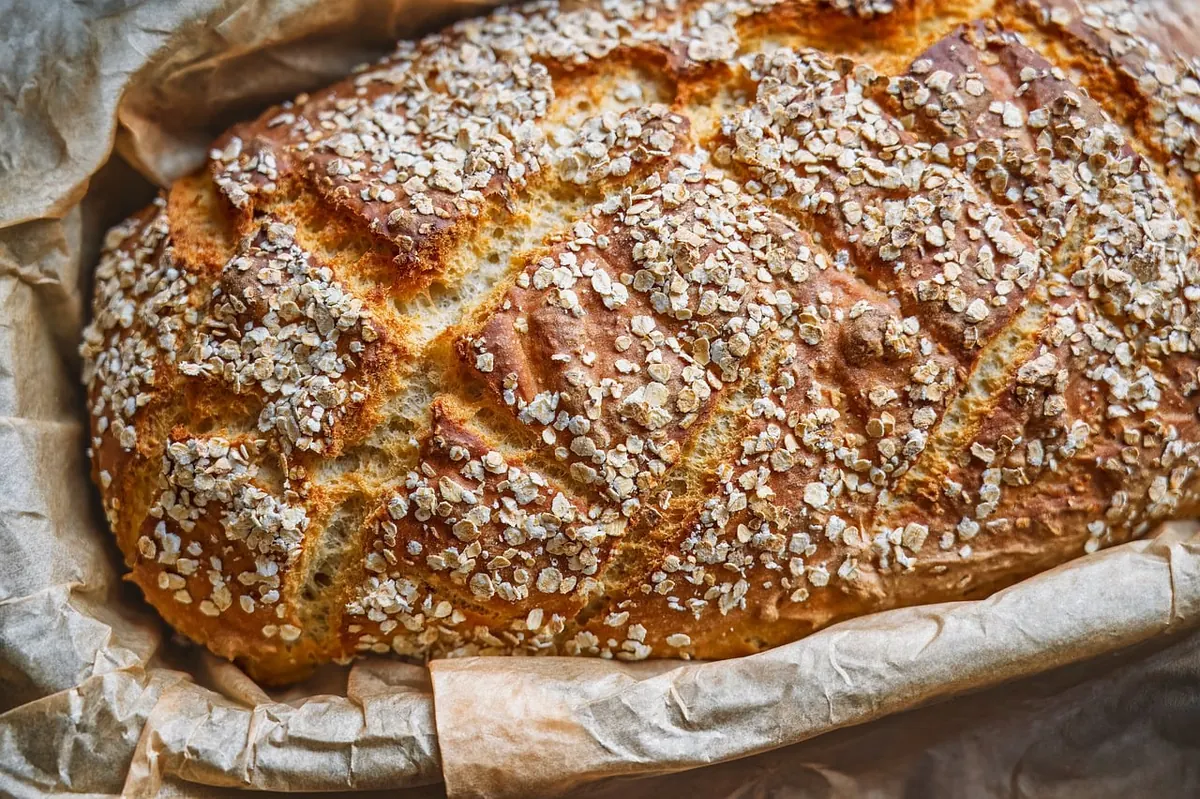
Whole-grain bread has a reputation problem, and much of it is earned in home kitchens. The loaf comes out dense, faintly bitter, with a crumb that could double as a doorstop, and the baker decides that whole grains simply behave that way.
They don't. Whole-grain flour is a different ingredient from white flour: thirstier, more reactive, and more fragile once mixed. It asks for more water, gentler handling, longer rests, and a bake that goes by temperature rather than by the colour of the crust. What follows are the ten mistakes that turn up again and again, with a practical correction for each. None of them require new equipment.
Mistake 1 and 2: Treating Whole-Grain Flour Like White Flour
Whole-wheat flour absorbs noticeably more water than white flour. The bran is thirsty and it takes its time drinking. A dough that feels right at the mixing bowl can tighten up twenty minutes later, and a dough that seemed slack at 70% hydration can turn stiff by the time you shape it.
Start at 75–85% hydration for a mostly whole-grain dough, and hold back about 5% of the water until you see how the flour behaves. If the dough fights back during shaping, add the reserved water rather than sprinkling in more flour. Freshly milled flour usually takes the higher end of that range; older, drier flour needs less.
Give the flour a head start
The second mistake is skipping the rest. Mix the flour and water alone — no salt, no starter, no yeast — and leave it covered for 20 to 30 minutes. The flour hydrates fully, the bran softens, and gluten begins to organize without any work from you. Salt and leaven go in afterwards. This rest is the cheapest improvement available to a whole-grain baker, and it makes the dough noticeably easier to handle.
Mistake 3: Kneading a Dough With Fragile Gluten
Bran is sharp. Those flakes slice through gluten strands as dough is worked, which is why whole-grain dough punishes heavy handling. Knead it as long as you would a white dough and you can feel the change: elastic first, then tired, then slack and sticky, and it never quite comes back.
Mix to a rough, shaggy mass with no dry flour left, then stop. Build strength with time and folds instead. Three or four sets of stretch-and-folds, spaced about 30 minutes apart during bulk fermentation, will give you a strong dough without shredding it. If you use a stand mixer, keep it on low and watch the dough rather than the clock. The windowpane test is a poor guide here; instead, look for a dough that holds its shape and springs back slowly when poked.
Mistake 4 and 5: Skipping the Soaker and the Preferment
Whole-grain flour carries bran and germ, and both bring enzymes and a slightly coarse texture that can dominate the loaf. Two simple preparations fix that.
The soaker. Set aside 10–20% of the whole-grain flour and soak it in an equal weight of hot — not boiling — water while you plan the rest of the bake, or overnight in the fridge. The bran softens, the crumb turns more tender, and the bread often tastes sweeter. Add the soaker to the final mix along with the salt.
The preferment. Ferment 20–30% of the flour with a little water and yeast, or with sourdough starter, for 12 to 16 hours before mixing the main dough. A poolish or biga brings flavour, but it also brings a touch of acidity that strengthens gluten and slows staling. Whole-grain loaves gain more from this than white ones, because they stale faster.
Mistake 6 and 7: Misreading the Ferment
Whole-grain doughs ferment faster than white ones. Bran and germ give the yeast more to work with and the enzymes are more active, so a dough that would take four hours at 24°C might be ready in three. The trap is that it also looks done sooner: the dough is dark, dense and hard to read, and a doubled volume is difficult to judge by eye.
Judge with your hands instead. Press a floured finger into the dough. If it springs back quickly, it needs more time; if the dent stays and the dough feels alive and jiggly, it's ready to shape. Look for a domed top and bubbles at the edge of the bowl.
The opposite error is just as common — proofing too warm and too long, then watching the loaf collapse in the oven. Keep dough temperature around 24–26°C, and if you aren't ready to bake, put the shaped loaf in the fridge overnight. A cold retard is forgiving, and it improves both flavour and crust.
Mistake 8: Shaping Too Tight, or Into the Wrong Pan
Whole-grain dough is extensible but less elastic than white dough, and it tears easily under tension. Shaping it as tightly as you would a baguette compresses the crumb and splits the surface, so the loaf ends up dense and lopsided.
Work with moderate tension and a light hand: preshape, rest 20 minutes, then shape gently and place seam-side down. If you're using a pan, size it properly — the dough should fill roughly two-thirds of it when it goes in, so there is room to rise but enough support to climb. A pan that's too large gives you a flat, wide loaf; one that's too small leaves a mushroom cap and a raw centre.
For free-form loaves, proof in a floured banneton or a lined bowl. It holds the shape while the gluten relaxes and makes the transfer to a hot stone or Dutch oven far less dramatic.
Mistake 9 and 10: Baking by Colour and Cutting Too Soon
Whole-grain crusts darken early. Bran and residual sugars brown quickly, so a loaf can look finished at 25 minutes while the centre is still raw. Baking to a colour rather than a temperature is the most reliable way to end up with a gummy crumb.
Use an instant-read thermometer. For a lean whole-grain loaf, aim for 96–99°C (205–210°F) at the centre. If the crust is browning too fast, tent it with foil or drop the oven temperature by 10–15°C and give it the extra time. Steam for the first 15 minutes helps the loaf expand; then vent the oven so the crust can set.
Then wait. Slicing a hot loaf lets steam escape and compresses starch that hasn't set, so the crumb turns gummy and the bread stales faster. Give a large loaf two to three hours on a rack. It is the hardest step on this list.
A Short Checklist Before Your Next Bake
- Hydration at
Photo: fotoblend / Pixabay